Showing posts with label Arts and crafts. Show all posts

Thursday, December 22, 2011

Sending You a Christmas Angel

Want to send out many blessings at Xmas in a happy and less costly way? You can cheer up many people with a Christmas angel. The DIY steps are simple.

The Christmas angel is 2-7/8” tall. This is the front view.

This is the rear side.

Materials for the DIY:

1. A cardboard with one side gold or silver in color (Choose whatever colors you like)
2. A die cut pattern
3. A pair of scissors or cutter
4. A string (optional, for hanging purpose)


If you want a bigger angel to carry more blessings, prepare the die cut pattern according to the measurement stated in the above photo and use photocopying to enlarge it. Of course, you can do some calculations and enlarge the angel directly while drawing out its die cut pattern.

DIY Steps of the Christmas angel:

1.    Draw out the die cut pattern.
2.    Apply the die cut pattern on a cardboard.
3.    Cut out the angel accordingly.
4.    Write your blessings at the rear side.
5.    Fold the sheet to form a standing angel. (Or let it stay flat for the mailing to the distant acquaintances)
6.    Add a string if you like.


Write your unique blessings in words or drawings and send out the Christmas angels to your beloved. It’s a good piece of holiday decorative item at home and at office.

When Christmas is over, don’t throw away the angels. Unfold them and store well. The flat sheet makes storage easier. You can also use the flat angel sheet as a bookmark. It’s always heart-warming to read blessings at the back, a handy remainder on having love and warmth always.

It’s worthwhile to invest on this inexpensive and easy-to-make gift. Don’t miss the golden opportunity to send love to others and yourself. Wish you all a Merry Christmas and happy always!

Author’s note:

The Christmas angel is easy to make. If you want to offer others DIY items that are more sophisticated but have a limited budget only, bead jewelry in a unique gift box showcase may be a good option. Read the three articles below and learn the simple DIY processes.

Eight Reasons to Make Bead Ring and How to Diy

How to DIY Bead Necklaces, Bracelets and Earrings

DIY Christmas Gift Box Showcase


Thursday, October 6, 2011

Examine and Reuse Rubbish


Humans create large volume of rubbish daily. If we examine carefully and use our creativity, we can save many items from disposal by doing DIY work. 

Examples of reused items:

1. The core of toilet paper


(Source and photo: from a newspaper dated September 19, 2011)

We often throw away the core without a thought. However, Junior Jacquet applied his craftsmanship and gave each core a unique face. The core has a new life after the transform. The faces are so interesting that it will be a fun to collect and hang them on a black wall. Cool decoration, isn’t it?

2. Soup can

(Source and photo from Crafty Kids summer 2000 issue)

The soup can is an ideal container for holding stationery (pencils, pens, and rulers), tableware (spoons, forks, and knives), and artificial flowers. What we need to do is clean it thoroughly and decorate the surface. Use your creativity and turn each soup can to an animal. Why not liven up your living area or workplace with some colors and amusing looks? 


3. Milk or Juice carton

(Source and photo from Looney Tunes Crafty Kids January / February 2001 issue)

The carton is always disposed shortly, but with thorough cleaning, painting, cutting, sticking and gluing, it can become a lovely house for your letters, candies or serve as a piggy bank. Convert it to a treasury box or a decorative item in your room. You can also share your arts and crafts with others by transforming the carton into an appealing gift box.

Apply our creativity on the excessive items or residue, we can give many things a longer lifespan, enjoy usage of unique items, save money from buying new items, reduce refuse and be more environmental friendly. With so many benefits, let us take the initiative to run as many DIY projects as we can.

Through sharing your DIY achievements with your family, friends, colleagues and neighbors, you may inspire them to start their own DIY projects. More participation will brighten our days and leave a better world, in terms of environment and resources, to our future generations.

Author’s note:

If you have no talents in arts and crafts, you can still participate in some other projects to make your contribution to the world. The two articles below will give you some ideas on what we can do. We can go green and even have fun at the same time by adopting some new and simple habits.

How to Go Green and Have Fun in Gift Exchange

15 Uses of Newspaper in Our Daily Life


Tuesday, February 8, 2011

How to make a Valentine Card by Stamping and Embossing

(Say "Thank You" to your beloved with a handmade card, sample image extracted from a Japanese leaflet)

Valentine’s Day is coming. Do you want to express love in a unique way? You can make a card by stamping and embossing to hold your loving messages.

Benefits of making your own card:

Of course you can buy a card easily. Why bother to make one? It’s mainly for uniqueness and precision, with other benefits as well.

1)    You can have full control on the size, color, pattern, and message added.
2)    Handmade card conveys the personal feeling in a more precise manner.
3)    The DIY steps are simpler than you expected. You can let your creativity run wild.
4)    It saves time from shopping for the right card as this could be more time-consuming than buying the DIY materials directly.

Materials for the handmade card:

1)    A piece of drawing paper with thickness equivalent to the normal purchased card.
2)    Stamp (the numbers depend on how many messages you want to add)
3)    Embossing ink pad (the numbers depend on how many colors you want to use)
4)    A bottle of embossing powder
5)    A brush
6)    A dryer
7)    Color pencils or markers

DIY Steps for stamping and embossing:

1)    Cut and fold the drawing paper to your desired card size.
2)    Press the stamp on the embossing ink pad and then on the card.
3)    Cover the stamped mark with embossing powder thoroughly.
4)    Brush off the excessive powder.
5)    Adopt the hot mode of the dryer on the mark until it changes color.
6)    Fill up the space with color pencils or markers.

(Using drying on the mark, image extracted from a Japanese leaflet)

Tailor-made love messages:

If you can’t find a stamp that holds your loving message, you can replace the stamp with a stencil. Again, the DIY steps are simple.

1)    Write, draw, print or photocopy your messages with the desired fonts, sizes and thickness on a piece of drawing paper, whose size should be larger than the handmade card.
2)    Cut out the characters and patterns.
3)    Place this stencil on the card.
4)    Press the protruding embossing ink pad on the hollow area.
5)    If the embossing ink pad is not protruding, you can use a sponge to transfer the embossing ink from the pad to the hollow area.
6)    Apply the embossing power and complete the rest of the DIY steps.

Handmade a Valentine card and let your daring receive all your sweet love and blessings exclusively.

Author’s note:

Stamping and embossing are not the only ways to make a card unique. You can also try blow paint if you want to have more fun in the DIY process. Read the article below to see what you need and how to do it.

Play with Kids: Ten Reasons to Do Blow Paint and How 


Wednesday, January 5, 2011

Handmade Bead Four-Leaf Clover

Have you ever found a four-leaf clover? The plant stands for good luck. It'll be a wonderful gift to your beloved. See what options you can offer.

Four-leaf clover is an uncommon variation of the common, three-leaved clover. Finding a four-leaf clover is considered a good omen. Do you know the meaning of each leaf?

The four-leaf clover denotes four good qualities.

1st leaf: Hope
2nd leaf: Faith
3rd leaf: Love
4th leaf: Luck

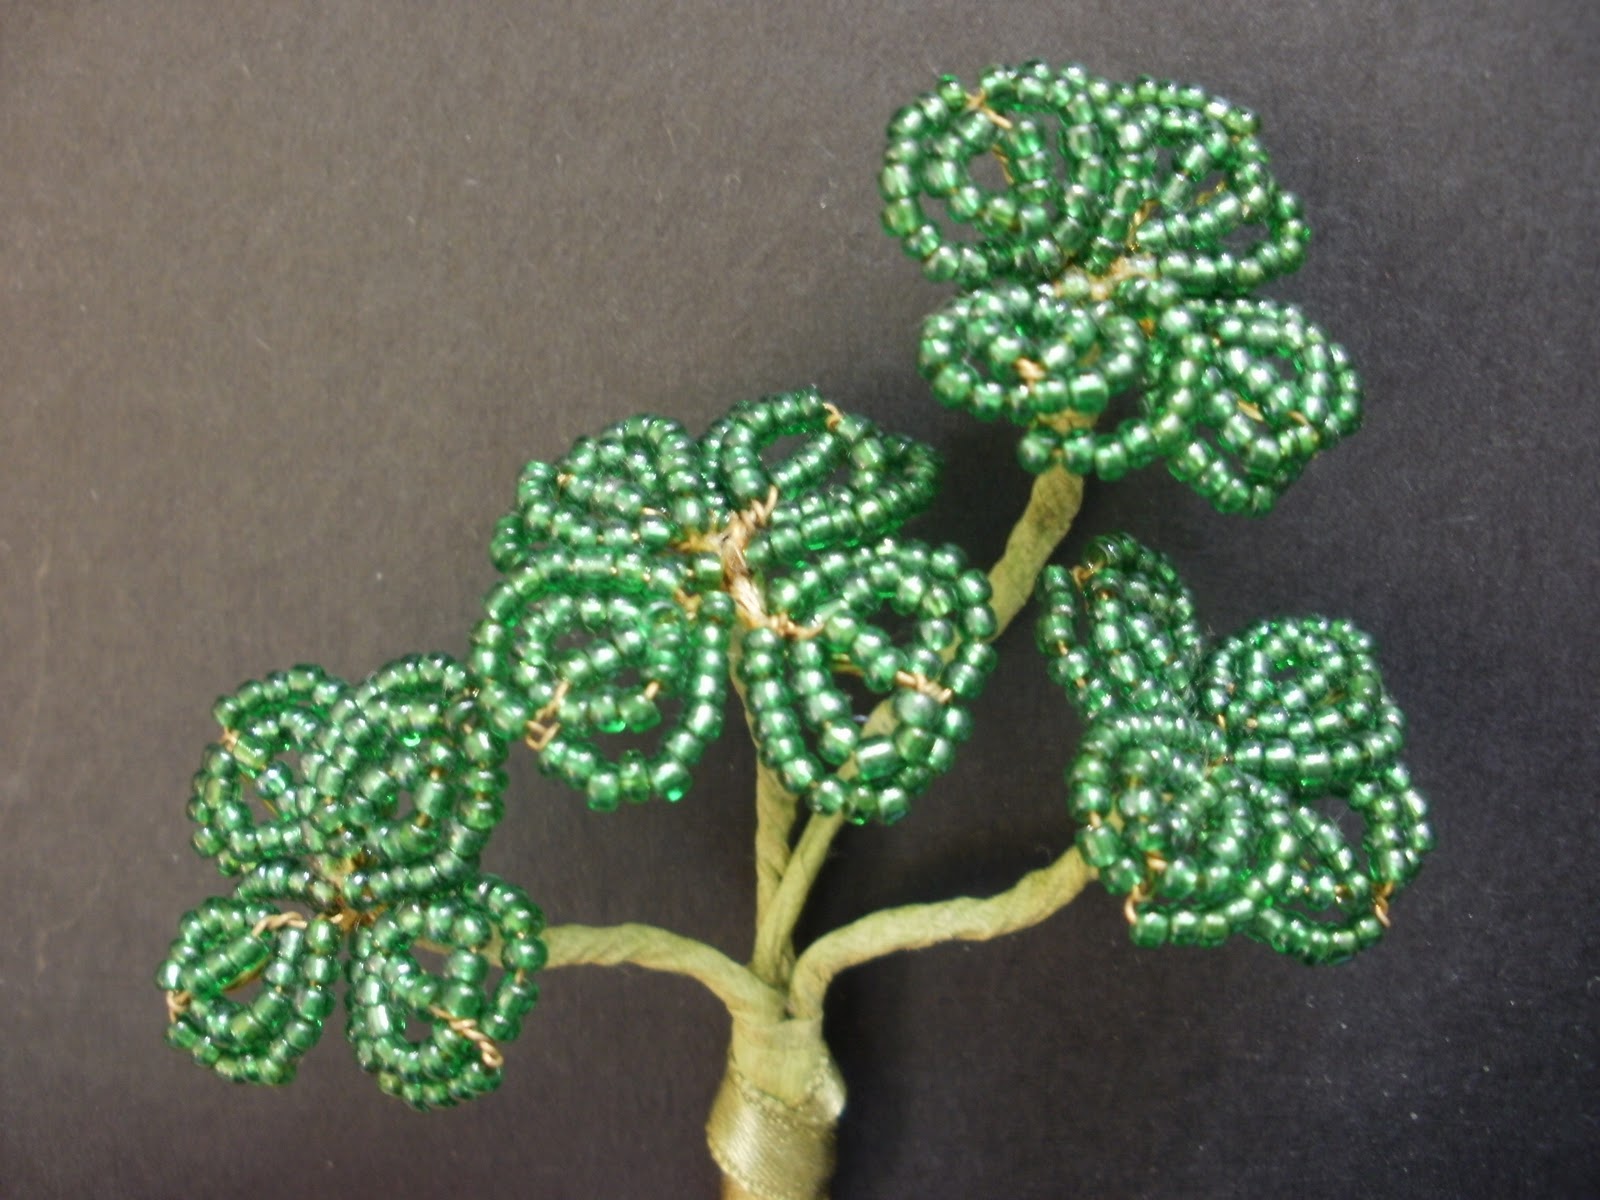
As four-leaf clover is rarely seen and it's impossible for me to send you the real plant, I decided to share with my readers a handmade one by posting its photo. Hope the bead four-leaf clover will bring you good luck.

A bead four-leaf clover will be a heartwarming gift to your beloved. Conveying good wishes, the beaded one lasts longer and can be prepared at a lower cost in terms of time and money. The one shown in the photo is good for home decoration, appropriate for all ages and genders.

For ladies, bead jewelry is also desirable. A smaller and simpler version of four-leaf clover can be made in the form of pendant, ring and earring.

The simplest bead offer can be done easily by outlining the shape of a four-leaf clover and gluing the pattern with green beads to form a unique handmade card.

Whatever bead option you offer, people are always happy to receive a four-leaf clover.

Author's note:

Bead jewelry is easy to make and can serve as a wonderful handmade gift, often well-received due to its uniqueness. If you want to make some for your own use or for others, you can learn more about the benefits of DIY and how to make the basic rings, necklaces, bracelets and earrings from the two articles below. 


Eight Reasons to Make Bead Ring and How to DIY

How to DIY Bead Necklaces, Bracelets and Earrings